Learning how to schedule social media posts is really about one thing: shifting from a reactive scramble to a proactive strategy. It’s about using a tool like useOrionix to map out your content ahead of time, so you’re posting consistently at the best times without being chained to your desk.
Move Beyond Manual Posting and Win Back Your Time
Let’s be honest, posting to social media in real-time is a constant drain. The daily pressure to be clever on the fly often leads to rushed, uninspired updates that don't really move the needle on your bigger goals. This is where scheduling completely changes the game.
When you plan your content in advance, you can "batch" your creative work. Instead of getting pulled away from other tasks multiple times a day, you can set aside one solid block of time to write all your captions, prep your graphics, and build out your content calendar for the week or even the month. The amount of mental energy this frees up is incredible.
Gain Consistency and Improve Quality
Consistency is everything on social media. When your audience knows they can expect great content from you regularly, they stay engaged and your brand stays top-of-mind. Scheduling guarantees that steady stream of content, ending the dreaded "radio silence" that happens when you get too busy.
This planned approach also has a direct impact on the quality of your work. Let’s face it, rushed posts are often full of typos or broken links. Scheduling gives you the breathing room to review, edit, and perfect every single detail before it goes live. You can find some great insights on timing and quality over at slateteams.com.
The real magic of scheduling isn't just saving time—it's about elevating your content from a daily chore to a strategic asset. You move from simply posting to intentionally publishing.
Focus on What Truly Matters
Once your content calendar is humming along on autopilot, your time is yours again. You can finally step off the hamster wheel of daily posting and put your energy where it makes the biggest impact.
Suddenly, you have time for things like:
- Actually engaging with your community: You can respond to comments, answer DMs, and build real relationships with the people who follow you.
- Analyzing your performance: Dive into the analytics to see what’s resonating and what’s falling flat. This lets you make smart, data-backed decisions instead of just guessing.
- Strategic planning: Start thinking bigger. You can focus on upcoming campaigns, new partnerships, and long-term growth instead of just worrying about what to post tomorrow.
Ultimately, scheduling isn't just about automation. It’s about reclaiming control and turning your social media presence from a reactive burden into a proactive engine for growth.
Build a Content Plan That Actually Works

Great social media scheduling starts long before you open up a tool. It’s all about having a smart strategy in place first. Without a clear plan, even the best software becomes a digital junk drawer for random ideas that don’t move the needle.
This blueprint is what separates a chaotic, reactive social feed from a consistent, strategic one. The first step? Nailing down your core content pillars.
Define Your Core Content Pillars
Think of content pillars as the three to five key topics your brand will talk about over and over again. These are the subjects that live at the sweet spot between what you know (your expertise) and what your audience cares about (their interests). They’re the foundation that makes every post you schedule feel authentic and valuable.
Let's imagine a local coffee shop. Their pillars might look something like this:
- Behind-the-Scenes: This is where they show off the coffee roasting process, introduce the friendly baristas, and share the story behind their bean sourcing.
- Community Spotlight: They could feature local artists whose work hangs in the shop or give a shout-out to other neighborhood businesses they partner with.
- Coffee Education: Simple brewing tips for home, explainers on different roasts, or even fun latte art tutorials fit perfectly here.
- Promotional Offers: This pillar covers weekly specials, loyalty program perks, and announcements for new seasonal drinks.
Having these pillars makes content creation so much easier. Instead of staring at a blank screen wondering, "What should I post today?" the question becomes, "What can I share about our community spotlight pillar this week?" That simple shift is a total game-changer for staying consistent.
Map Out Your Content Calendar
With your pillars defined, it's time to bring them to life in a content calendar. This isn't just about plugging in random posts; it's about strategically planning a balanced and engaging mix of formats to keep your audience from scrolling past.
Your main goal is to weave different types of content throughout the week. For instance, a single week might include a short video, a user-generated photo, a link to a new blog post, and an interactive poll. This variety is what keeps your feed feeling fresh and dynamic. If you want to dive deeper, our complete guide on building a social media content calendar walks you through the entire process.
A content calendar does more than just organize posts—it visualizes your brand's story over time. It ensures you're not just selling, but also educating, entertaining, and building a genuine connection with your audience.
Create a Balanced Content Mix
So, how does this look in practice? Let's sketch out a sample week for our coffee shop, showing how they can schedule a balanced mix based on their pillars:
| Day | Pillar | Content Idea |
|---|---|---|
| Monday | Behind-the-Scenes | A quick video Reel of the morning's first espresso pull. |
| Tuesday | Promotional Offer | A static image announcing a "Two-for-One Tuesday" pastry deal. |
| Wednesday | Coffee Education | An Instagram Story poll asking, "Drip or Pour-Over?" |
| Thursday | Community Spotlight | A carousel post featuring the new local artist of the month. |
| Friday | Behind-the-Scenes | A photo of the team getting ready for the weekend rush. |
This simple schedule ensures every pillar gets some love and the content formats stay interesting. By planning this mix ahead of time, you can hop into a tool like useOrionix and schedule the entire week in one go, turning your strategy into an automated engine for consistent growth.
Hooking Up Your Social Accounts to useOrionix
Alright, your content plan is mapped out. Now for the fun part: connecting your social media profiles to useOrionix. This is where the magic happens, transforming your strategic calendar into an automated powerhouse that posts for you. Nailing this initial setup is the key to a frictionless workflow right from the get-go.
The whole process is designed to be painless. Once you're inside the useOrionix dashboard, look for the "Connections" or "Social Accounts" section. This is your command center for authorizing the platform to post on your behalf, creating a secure bridge between your profiles and the scheduler.
How Authentication Works for Different Networks
Each social network has its own way of shaking hands with a new tool. When you go to add a profile, you'll see a pop-up window from that specific platform—like Facebook or LinkedIn—asking you to grant permissions. It’s worth understanding what you’re actually agreeing to here.
For instance, to connect an Instagram Business account, you have to go through its linked Facebook Page. This isn't a weird workaround; it’s an official requirement from Meta that gives useOrionix the API access it needs to publish your posts, Reels, and Stories directly. LinkedIn will do something similar, asking for permission to post on your personal profile or any Company Pages you run.
Think of it like giving useOrionix a valet key. It can park the car (post your content) in the designated spot (your feed) at the right time, but it can't rummage through the glove box or take it for a joyride.
Giving these permissions is totally safe and standard for any legitimate social media management tool. It’s what allows the platform to do its job: publish content, pull basic analytics, and help you manage comments.
Prepping Your Workspace for Maximum Team Efficiency
After your accounts are linked, don't just jump straight into scheduling. Take a few minutes to organize your workspace first. This is a game-changer for anyone figuring out how to schedule social media posts, especially if you're collaborating with others. A little organization now will prevent major headaches later.
Here are a few things I always recommend setting up immediately:
- Lock in a Default Time Zone: This is a simple but crucial step. Make sure all your scheduled posts are based on your main audience's time zone to avoid accidentally posting at 3 a.m. when you meant 3 p.m.
- Build a Shared Media Library: Start uploading your brand assets—logos, approved photos, video clips, and templates—into one central spot. This saves your team from digging through endless folders and ensures everyone uses the right visuals.
- Define User Roles: If you're working with a team, set up roles like "Creator," "Editor," or "Approver." This clarifies who does what and builds a clear approval process right into your workflow.
This image gives a great overview of the social media marketing ecosystem, showing how scheduling tools are the engine for executing your strategy.
As you can see, the tools are just one piece of a much larger puzzle that includes everything from community engagement to deep-dive analytics.
By handling these small housekeeping tasks upfront, you’re not just connecting accounts; you’re building a smooth, collaborative machine. With everything linked and your workspace fine-tuned, you're ready to start scheduling your first posts like a pro.
How to Schedule Your First Social Media Posts
With your accounts connected and a solid strategy sketched out, you’re ready for the fun part—actually scheduling your first posts. This is where all that planning starts to pay off, turning your ideas into a content machine that works for you 24/7. The useOrionix composer is built to be your command center, letting you get creative without getting bogged down in menus and settings.
Let’s walk through creating a single, powerful post from scratch. Think of the composer as your workshop. This is where you’ll write your copy, drop in your image or video, and instantly see a live preview of how it’ll look on each network. That real-time feedback is a lifesaver for catching weird formatting or awkward image crops before you go live.
Once you’ve got that core post looking good, the real magic happens when you start customizing. A generic, copy-pasted message just doesn’t cut it anymore; audiences can spot it a mile away.
Tailor Your Content for Each Network
Great social media isn't just about what you post, but how you adapt it for each platform’s unique audience and style. useOrionix makes this incredibly easy. Instead of building five different posts from the ground up, you create one master post and then simply tweak it for each network using dedicated tabs.
For instance, say you’re promoting a new case study on your blog:
- On a platform like LinkedIn, you'd want a more professional tone. You could tag the client's company page and use focused hashtags like #B2BMarketing or #ClientSuccess.
- Over on Instagram, the vibe is totally different. Here, you might pull out a compelling quote from the case study, put it on a graphic, and write a caption that asks your followers a question. You'd also use a broader mix of hashtags.
- For Facebook, you could write a slightly longer, more storytelling-focused caption that explains the "before and after" of the case study, encouraging people to comment with their own experiences.
This simple customization process makes your content feel like it belongs on each platform, which is a huge factor in driving better engagement.
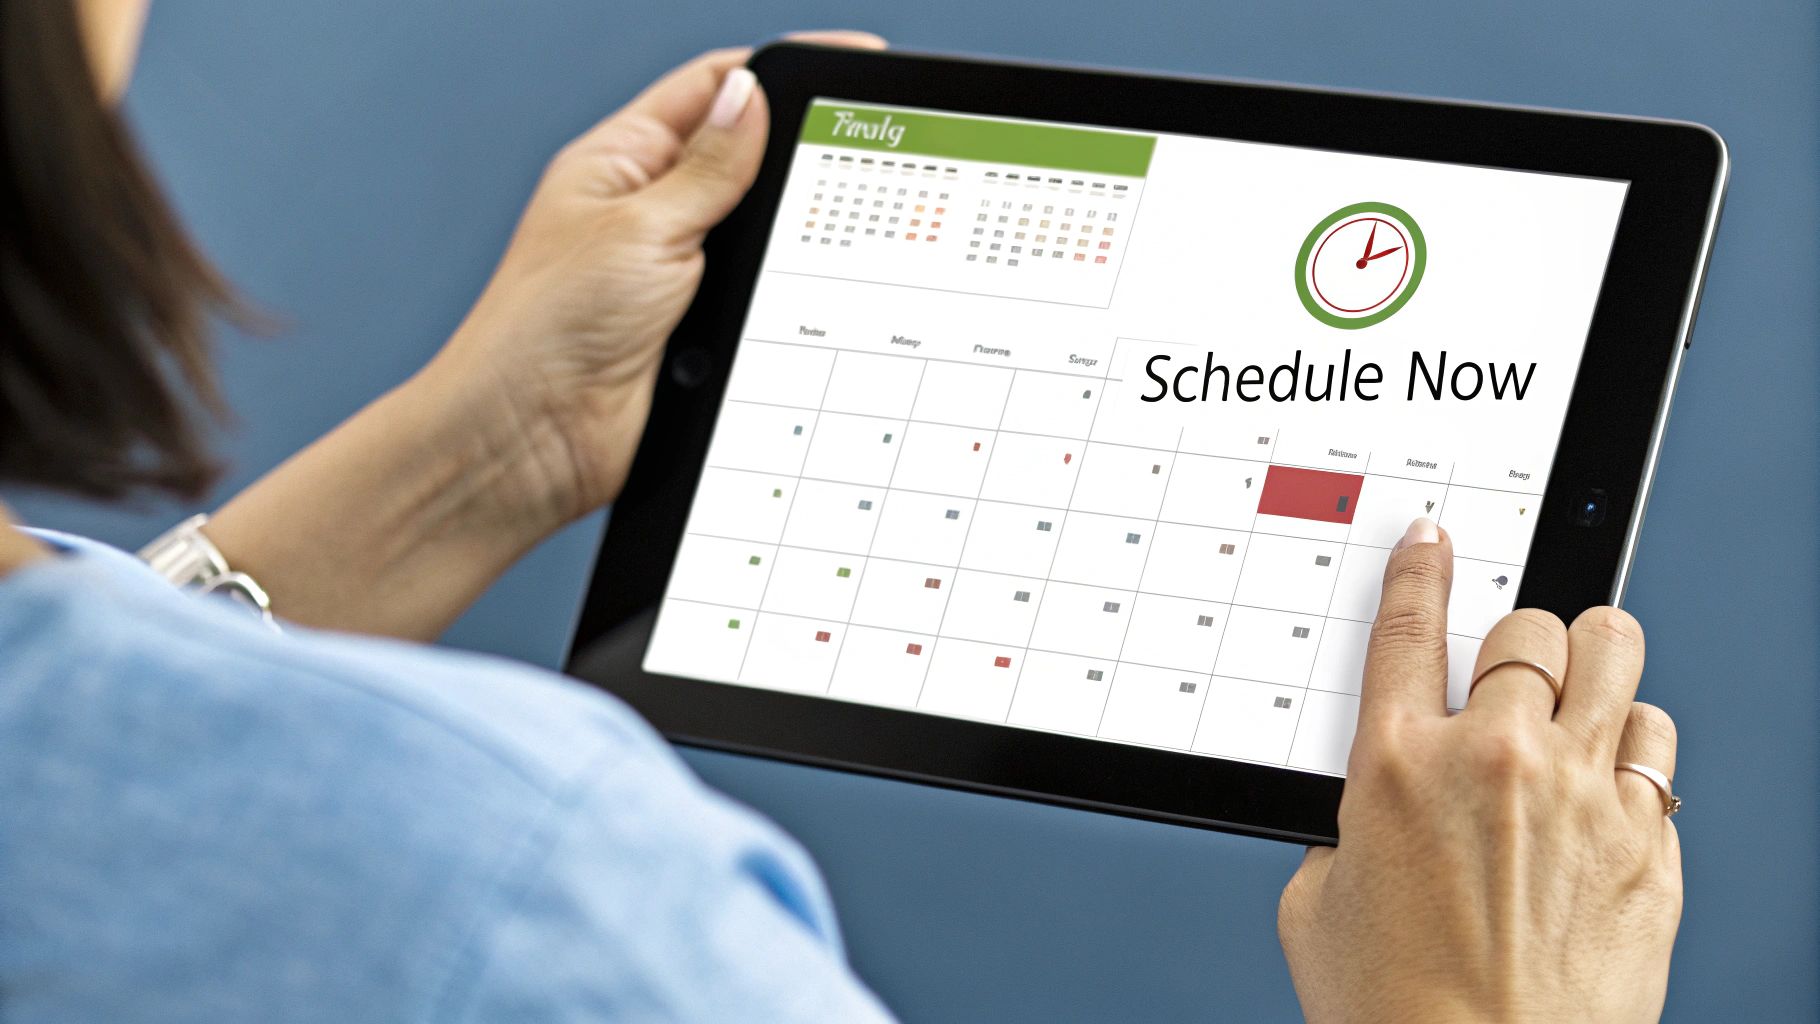
Choose Your Scheduling Method
After you’ve tailored the post, it's time to decide when it goes out. This is where you can get really strategic. useOrionix gives you a few different ways to schedule, all from within the composer.
You can pick a specific date and time right from the calendar—perfect for a product launch or a time-sensitive announcement. Or, for your everyday content, you can add it to a pre-set queue. This is a game-changer for staying consistent. The system automatically finds the next best time to publish, so you don't even have to think about it.
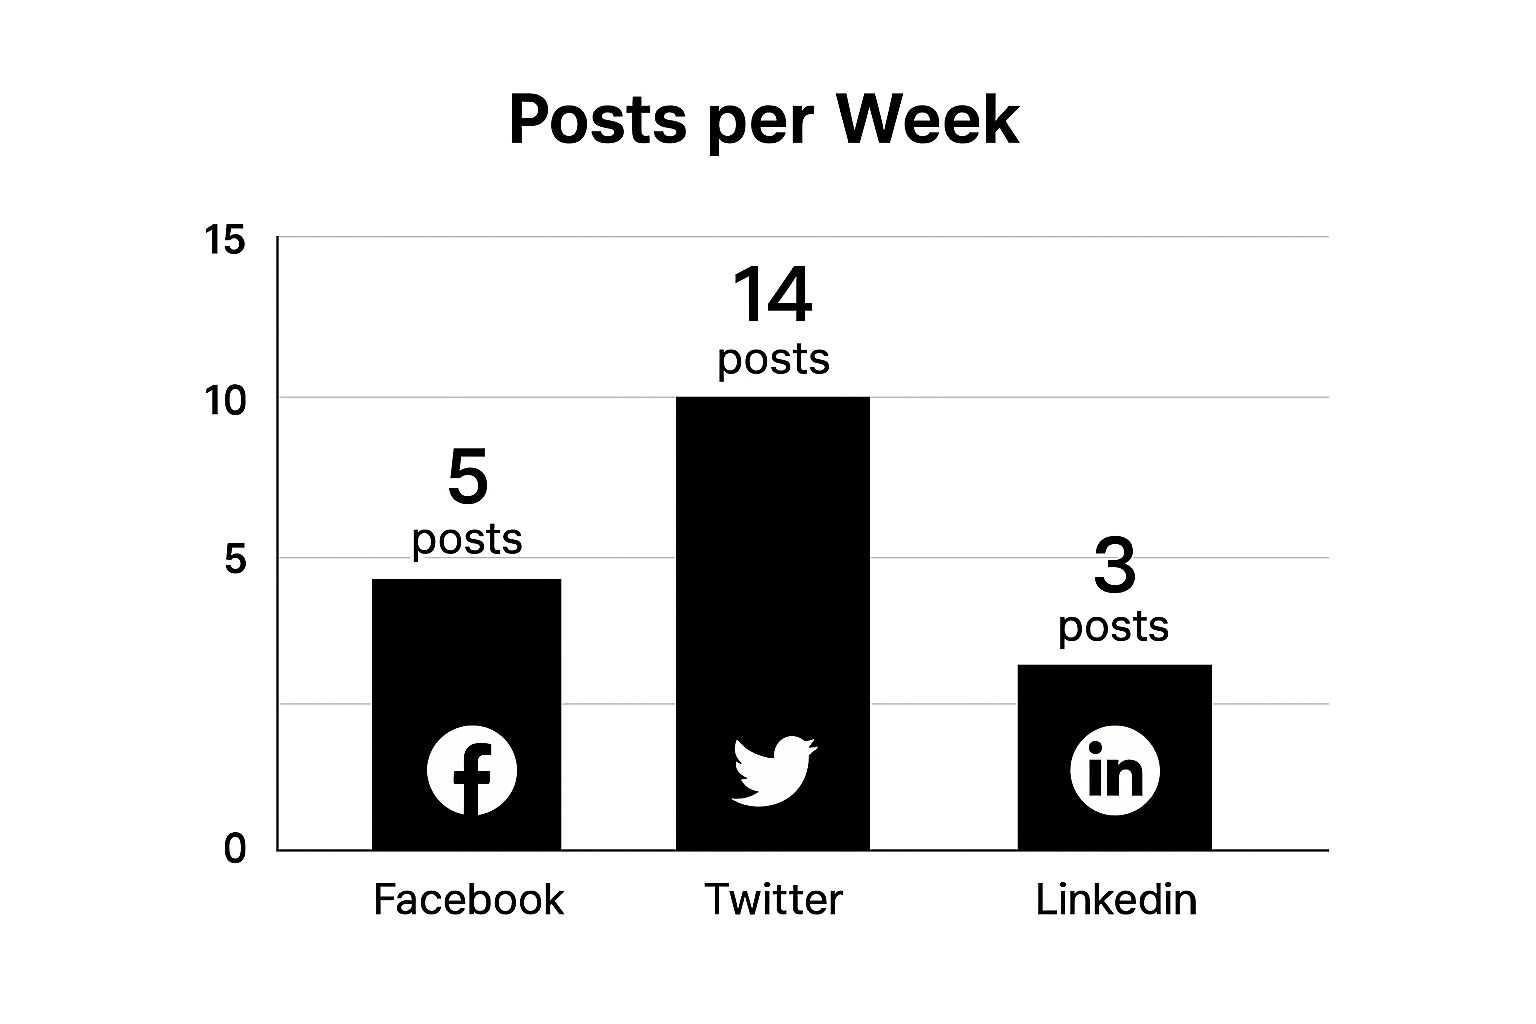
Maintaining a consistent presence across platforms can be demanding, especially when you see the recommended posting frequencies. A scheduling tool isn't just a convenience; it's a necessity for keeping up.
Recommended Posting Frequency by Platform
| Social Media Platform | Average Posts Per Week |
|---|---|
| 5-7 | |
| 4-6 | |
| X (formerly Twitter) | 15-21 |
| 3-5 | |
| 5-10 |
As you can see, the volume required for a platform like X makes manual posting almost impossible for a busy team. Automation is key to hitting these targets without burning out.
Pro Tip: Try content batching. I can’t recommend this enough. Set aside a few hours once a week to write and schedule all of your posts. This approach is a massive productivity booster that frees up an average of 5-8 hours per week by saving you from constantly switching between tasks.
Before you hit that final "Schedule" button, always take a quick look at the main calendar view. It gives you a bird's-eye perspective of your entire week or month, making it easy to spot any gaps or make sure you have a healthy mix of content types. Once it looks good, confirm it, and you're done. useOrionix handles the rest, and you can get back to your day knowing your social media is running on autopilot.
Taking Your Scheduling Game to the Next Level
Once you've got the hang of scheduling individual posts, it's time to dive into the automation features that really separate the pros from the beginners. This is where you can truly set your content strategy to cruise control, maintaining a consistent, balanced presence without having to live on the platform 24/7. Honestly, these are the features that save seasoned social media managers countless hours every single week.
It all starts when you stop thinking about one-off posts and start organizing your content by categories. Inside useOrionix, you can create different queues for each of your main content pillars. Imagine having separate buckets for "Blog Posts," "Behind-the-Scenes," and "Customer Testimonials." By slotting each new post into its proper category, you automatically ensure your feed never gets too salesy or one-dimensional.
Put Your Content on Autopilot with Queues
Think of a queue as your own personal content DJ. Instead of painstakingly picking a specific date and time for every single post, you just drop new content into the right category queue. From there, useOrionix takes over, automatically publishing from that queue based on a schedule you’ve already defined. It’s perfect for filling the gaps in your calendar.
This approach is a lifesaver for keeping up a steady flow of content. Let's be real, the posting frequency needed on some platforms is intense. For instance, recent data from Hootsuite shows businesses are posting an average of 18.1 times a week on X (what we used to call Twitter) and 14.2 times on Facebook. Trying to do that manually is a fast track to burnout. Automated queues are pretty much essential for staying visible without losing your mind.
Build Your Evergreen Content Machine
Not every post you create is a one-and-done deal. Some of your absolute best content—like killer tutorials, foundational blog articles, or five-star reviews—can deliver value for months, if not years. We call this evergreen content, and useOrionix gives you a place to build a library for it, so you can automatically recycle your greatest hits.
By setting up an evergreen queue, you’re basically building an automated system that keeps your profiles active and drives traffic back to your most valuable content on repeat. It is the ultimate "set it and forget it" strategy.
It's simple. You add a proven, high-performing post to your evergreen library and tell the system how often you'd like it to be reshared. The platform will then intelligently sprinkle it back into your content calendar over time, getting it in front of new followers and reminding your current audience why it was so great in the first place. This is one of the smartest ways to squeeze every last drop of ROI from your content creation efforts. If you're curious about how other tools handle this, our guide on the https://useorionix.com/blog/best-social-media-scheduling-tools is a great place to compare options.
Make Team Collaboration Effortless
When you’re working with a team (or clients), efficient scheduling is about more than just a calendar. It’s about having a clear, pain-free approval process. Forget the nightmare of passing screenshots back and forth in Slack or digging through email threads. With useOrionix, collaboration happens right where the work gets done.
Here’s how you can create a totally seamless system for your team:
- Assign Drafts for Review: A team member can whip up a post and assign it directly to a manager or client.
- Leave Feedback in Context: Approvers can drop comments and suggest edits right on the post preview itself. No more confusion.
- Approve and Schedule: Once everyone's happy, it takes just one click to get it approved and locked into the calendar.
This kind of structured workflow cuts out the guesswork, keeps the entire team aligned, and leaves a clear paper trail of all feedback and changes. It turns scheduling from a chaotic solo task into a smooth, collaborative win.
Answering Your Top Questions About Scheduling Posts
Even after you've got your new workflow humming along, a few questions always pop up. It’s totally normal. Let's tackle some of the most common ones we hear from users so you can schedule your content with total confidence.
The big one is always: "Will scheduling my posts hurt my reach?" It's a persistent myth that social media algorithms penalize content published via third-party tools. The truth is, platforms like Instagram have official partnerships with approved schedulers for a reason. What really matters to the algorithm is great content and smart timing, not how it got published.
How Do I Find the Best Time to Post?
This is the million-dollar question, isn't it? You'll see studies pointing to general windows, like weekday mornings for Facebook. Think of those as a starting point, not a rule. The real answer is buried in your own analytics.
You need to dig into your native insights on each platform to see when your specific audience is actually online and scrolling.
- Start with the data: Use the platform's analytics to find your peak hours.
- Test and measure: Schedule posts for different times and days. Track the engagement.
- Don't be afraid to be different: You might find your audience is full of night owls and that a 9 p.m. post gets all the love.
The goal isn't just to post consistently. It's to show up when your audience is most likely to see and interact with what you share. That’s how scheduling gives you a serious strategic edge.
How Far Ahead Should I Schedule Content?
Another great question. For most brands and creators, scheduling one to two weeks out is the sweet spot. This gives you plenty of breathing room for reviews and approvals but keeps you nimble enough to jump on a trend if it explodes.
Of course, for bigger campaigns or evergreen content, you might plan key posts a month or more in advance.
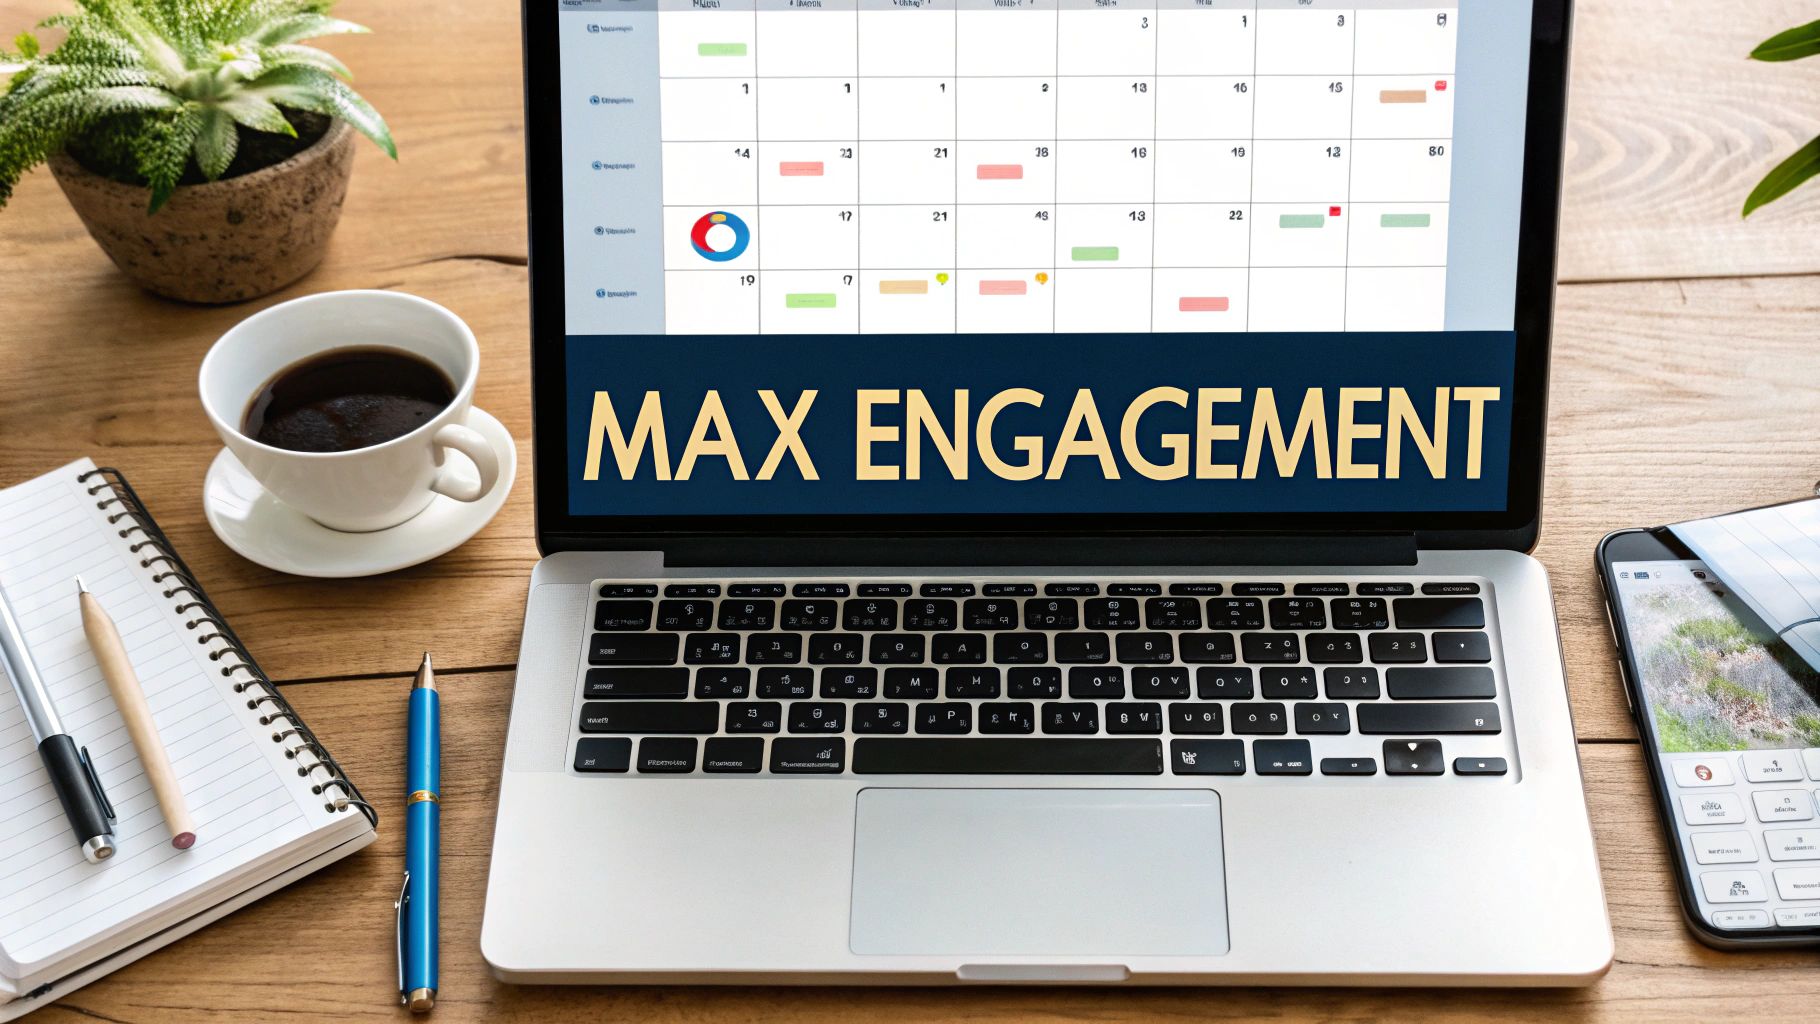
Ultimately, scheduling doesn't hurt your performance—it strengthens it. By making sure your best content goes live at the best times, you're building a foundation for better results. For more on this, check out our guide on how to improve social media engagement.
Ready to stop scrambling and start strategizing? With useOrionix, you can plan, schedule, and automate your content using a simple drag-and-drop calendar designed for creators and small teams. Get your time back by visiting https://useorionix.com to get started.